Getting Started
Quickstart
This is the fastest path from a blank account to a working AI agent on your site. You will create an agent, give it knowledge, shape how it sounds and looks, deploy it, and then watch it answer real visitors. Most people get their first agent live in a single sitting.
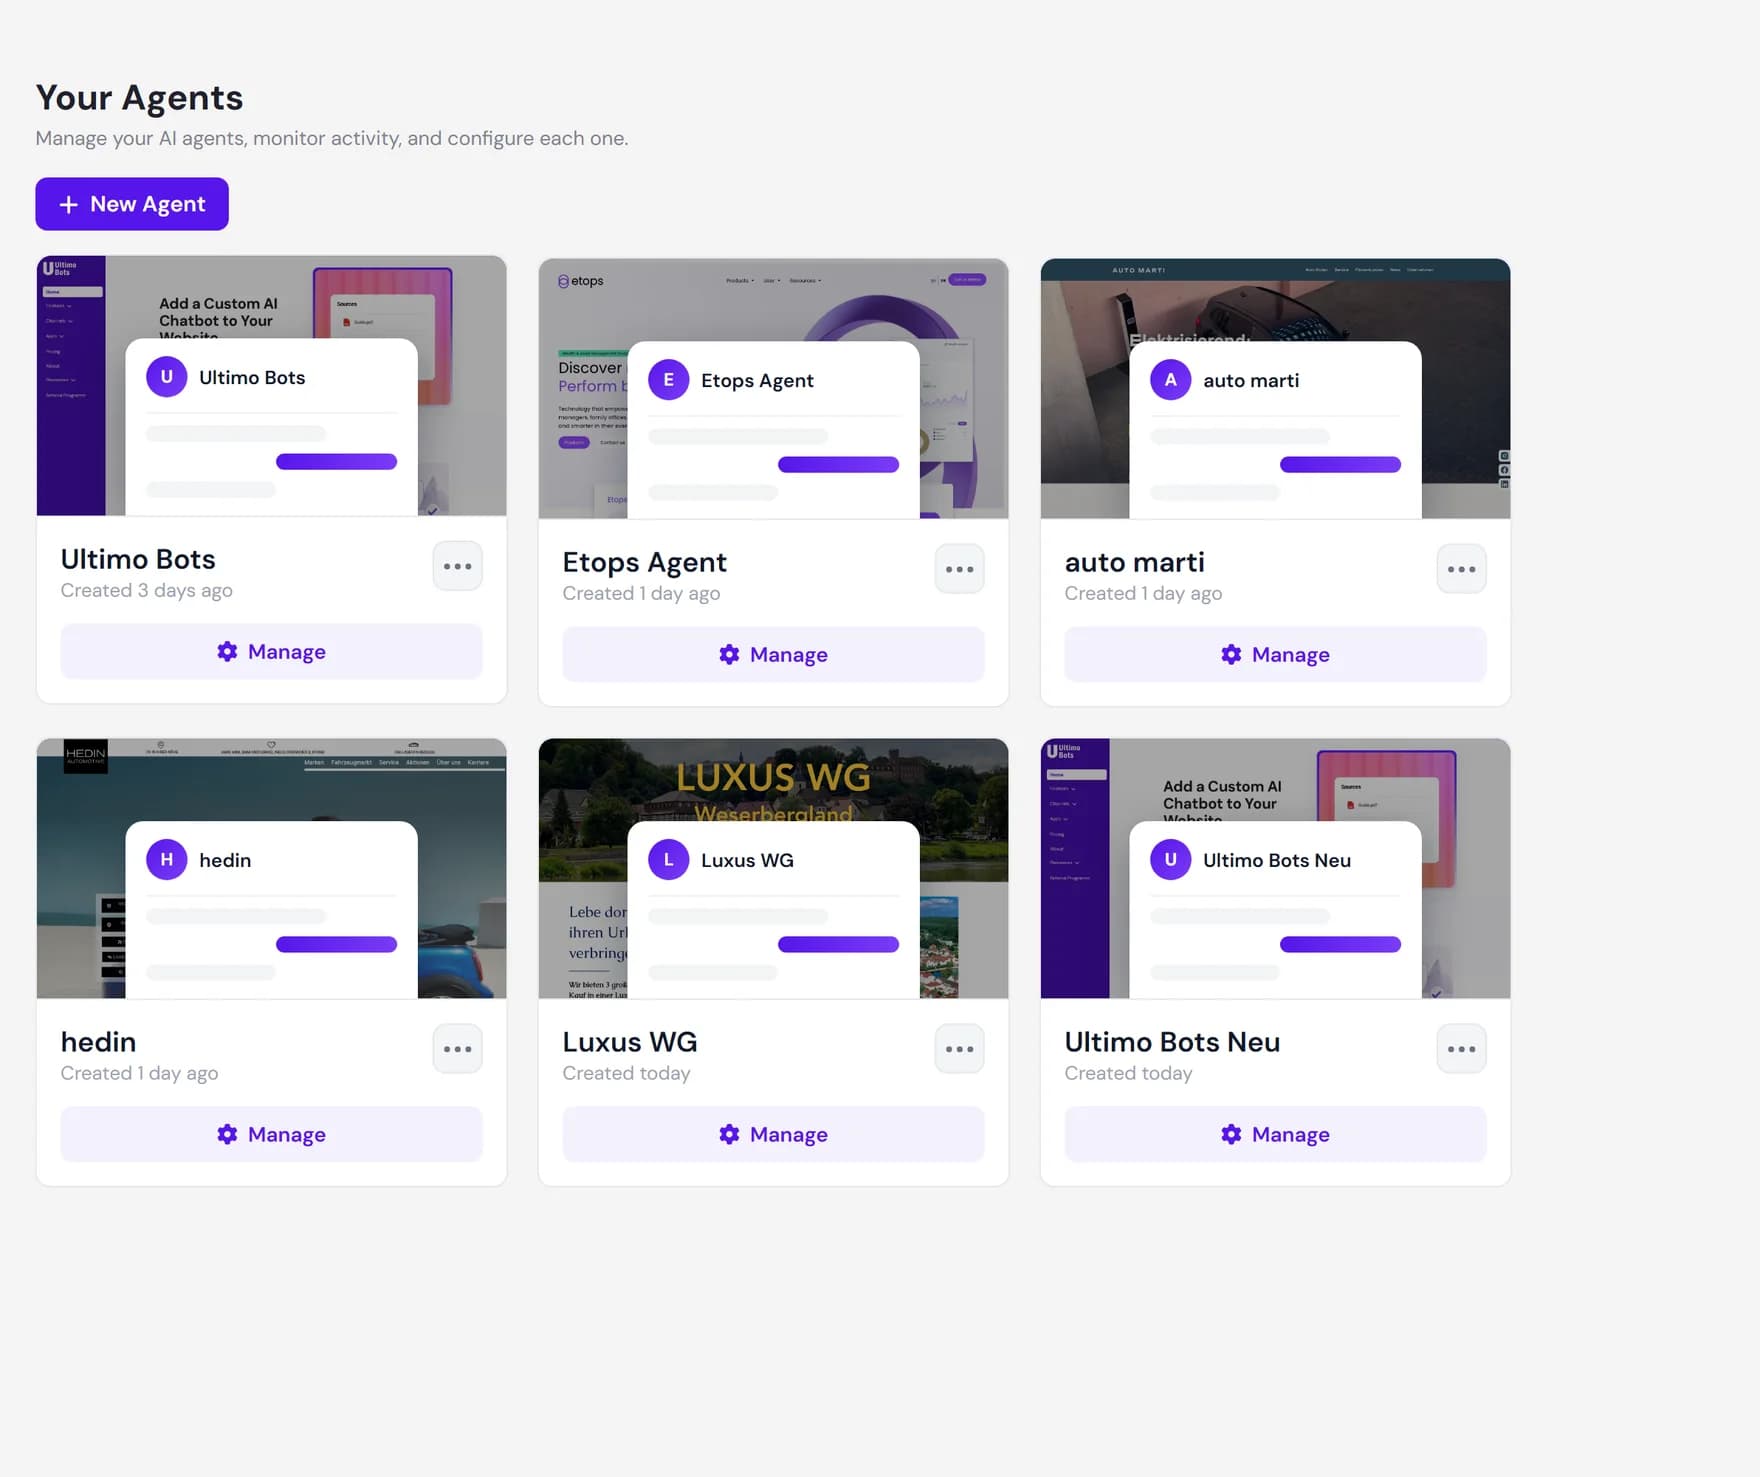
Everything happens in the dashboard. After you sign in you land on Your Agents, the home for every agent you own. Once you open an agent, the left sidebar follows the same order as the steps below: set up the agent (Overview, AI Studio, Knowledge Base), launch it (Deploy), then run it (Live Chat, Activity, Notifications). If you keep that order in mind, you will always know where to go next.
The five steps
Each step below links to a full guide if you want the detail. You do not have to finish one step perfectly before moving on. You can always come back and add more knowledge, refine the behavior, or restyle the widget after your agent is already live.
Create your first agent
On Your Agents, click New Agent. Give the agent a name (the only required field), and optionally paste a website URL or upload a few documents to get it started. Then click Create Agent. The build runs in the background and the agent card shows live progress. Full guide: Create an AI agent.
Add knowledge so it can answer
Open the agent and go to the Knowledge Base group in the sidebar. Add more Website Links, upload Documents, write FAQs for your most common questions, or connect Google Drive, OneDrive, or Notion. The more relevant content you add, the more your agent can answer. Full guide: Knowledge overview.
Shape behavior and design
Use the AI Studio group to set the agent's tone, guardrails, and fallback behavior under Behavior. Then open the Deploy group and use Design to match the chat widget to your brand: colors, fonts, the welcome message, and the starter questions visitors see first. Full guide: Design and customize the widget.
Deploy it to a channel
Open the Deploy group and choose Channels. The website widget is the default: copy a short snippet into your site, or use the one-click activation for Wix and Webflow. You can also add other channels such as a hosted chat link or social messaging. Full guide: Channels and installation.
Watch it work
Test the agent yourself in the chat playground on the agent's Overview page, where you can ask it questions exactly as a visitor would. Once it is live, the Activity group shows real conversations in the Inbox, captured Leads, and usage Insights. Full guide: Test your agent.
Step 1: Create your first agent
From Your Agents, click New Agent. A short dialog opens with three sections: a name, an optional website URL, and an optional document upload.
- Name your agent. This is the only required field, for example Support Assistant. You can rename it later.
- Website URL (optional). Paste a public address such as
https://www.your-company.com. Ultimo Bots checks that the site is reachable before it starts, so a wrong or private address is caught right away. - Upload documents (optional). Drag in files or click Select Files. Supported types are
.pdf,.txt,.doc,.docx, and.rtf, up to 20 MB per file and 100 MB in total.
Click Create Agent. The dialog closes and your new agent appears in the list with a progress ring. The build is fully automatic: it reads your website and documents, then writes a starting persona, a welcome message, and a couple of suggested questions. You can keep working while it finishes.
Step 2: Add knowledge so it can answer
Open your agent and find the Knowledge Base group in the sidebar. Every source you add lives in one place, and your agent searches across all of them when it answers. The sources you can add:
| Source | Best for |
|---|---|
| Website Links | Public pages on your site: products, services, policies, about. |
| Documents | Files you already have: PDFs, Word documents, handbooks, price sheets. |
| FAQs | Hand-written question and answer pairs for the things people ask most. |
| Google Drive, OneDrive, Notion | Import directly from a connected workspace so your agent stays close to your content. |
| Business Context | A short description of your company that frames every answer. Ultimo Bots drafts it during the build, and you can refine it. |
New sources show a short "training" state while they are processed, then turn ready on their own. There is no separate publish step. As soon as a source is ready, your agent can answer from it. Learn more about knowledge.
Step 3: Shape behavior and design
With knowledge in place, decide how the agent should sound and look. These live in two different sidebar groups.
- AI Studio, then Behavior. Set the tone of voice, the guardrails, and what the agent should do when it is unsure or asked something out of scope. Open the behavior guide.
- Deploy, then Design. Match the chat widget to your brand: colors, fonts, the avatar, the welcome message, and the starter questions a visitor sees before they type. A live preview shows the result as you edit. Open the design guide.
- AI Studio, then Skills and Apps (optional). Beyond answering from knowledge, you can give your agent skills such as booking a meeting, adding a newsletter subscriber, or creating a support ticket through a connected app. Open the skills guide or connect an app.
None of this is required to go live, and you can change it any time. The defaults Ultimo Bots generates during the build are already a sensible starting point.
Step 4: Deploy it to a channel
Open the Deploy group and choose Channels. The website widget is the default deployment surface: a small chat bubble in the corner of your site. You install it in one of two ways:
- Copy the snippet. Paste a short HTML snippet into your site once, and the widget appears for every visitor.
- One-click activation. For Wix and Webflow, an Activate button adds the widget to your site for you, with no copy and paste.
Beyond the website, the same agent can run on a hosted chat link you can share directly, and on social messaging channels. Each channel you connect points back to the same agent and the same knowledge. See all channels and installation steps.
Step 5: Watch it work
Before and after you go live, test the agent yourself. The agent's Overview page has a built-in chat playground: ask it the questions your visitors ask and check that the answers are right. If something is missing or wrong, the fix is almost always to add or edit knowledge in step two. More on testing.
Once visitors start chatting, the Activity group is where you see what is happening:
- Insights shows usage and trends, including how many responses your agent has given. Open insights.
- Inbox shows full conversation transcripts so you can read exactly what was asked and answered. Open the activity inbox.
- Leads collects the contact details your agent captures so you can follow up. Open leads.
- Reporting sends scheduled summary emails on the weekdays you choose, with the chat history as an optional attachment. Open reporting.
If you want a person to step in, the Live Chat group lets you set yourself available and take over a conversation from the agent in real time. Learn about live chat.
Next steps
That is the whole loop: create, teach, shape, deploy, watch. When you are ready to go deeper, start with these.