Deploy
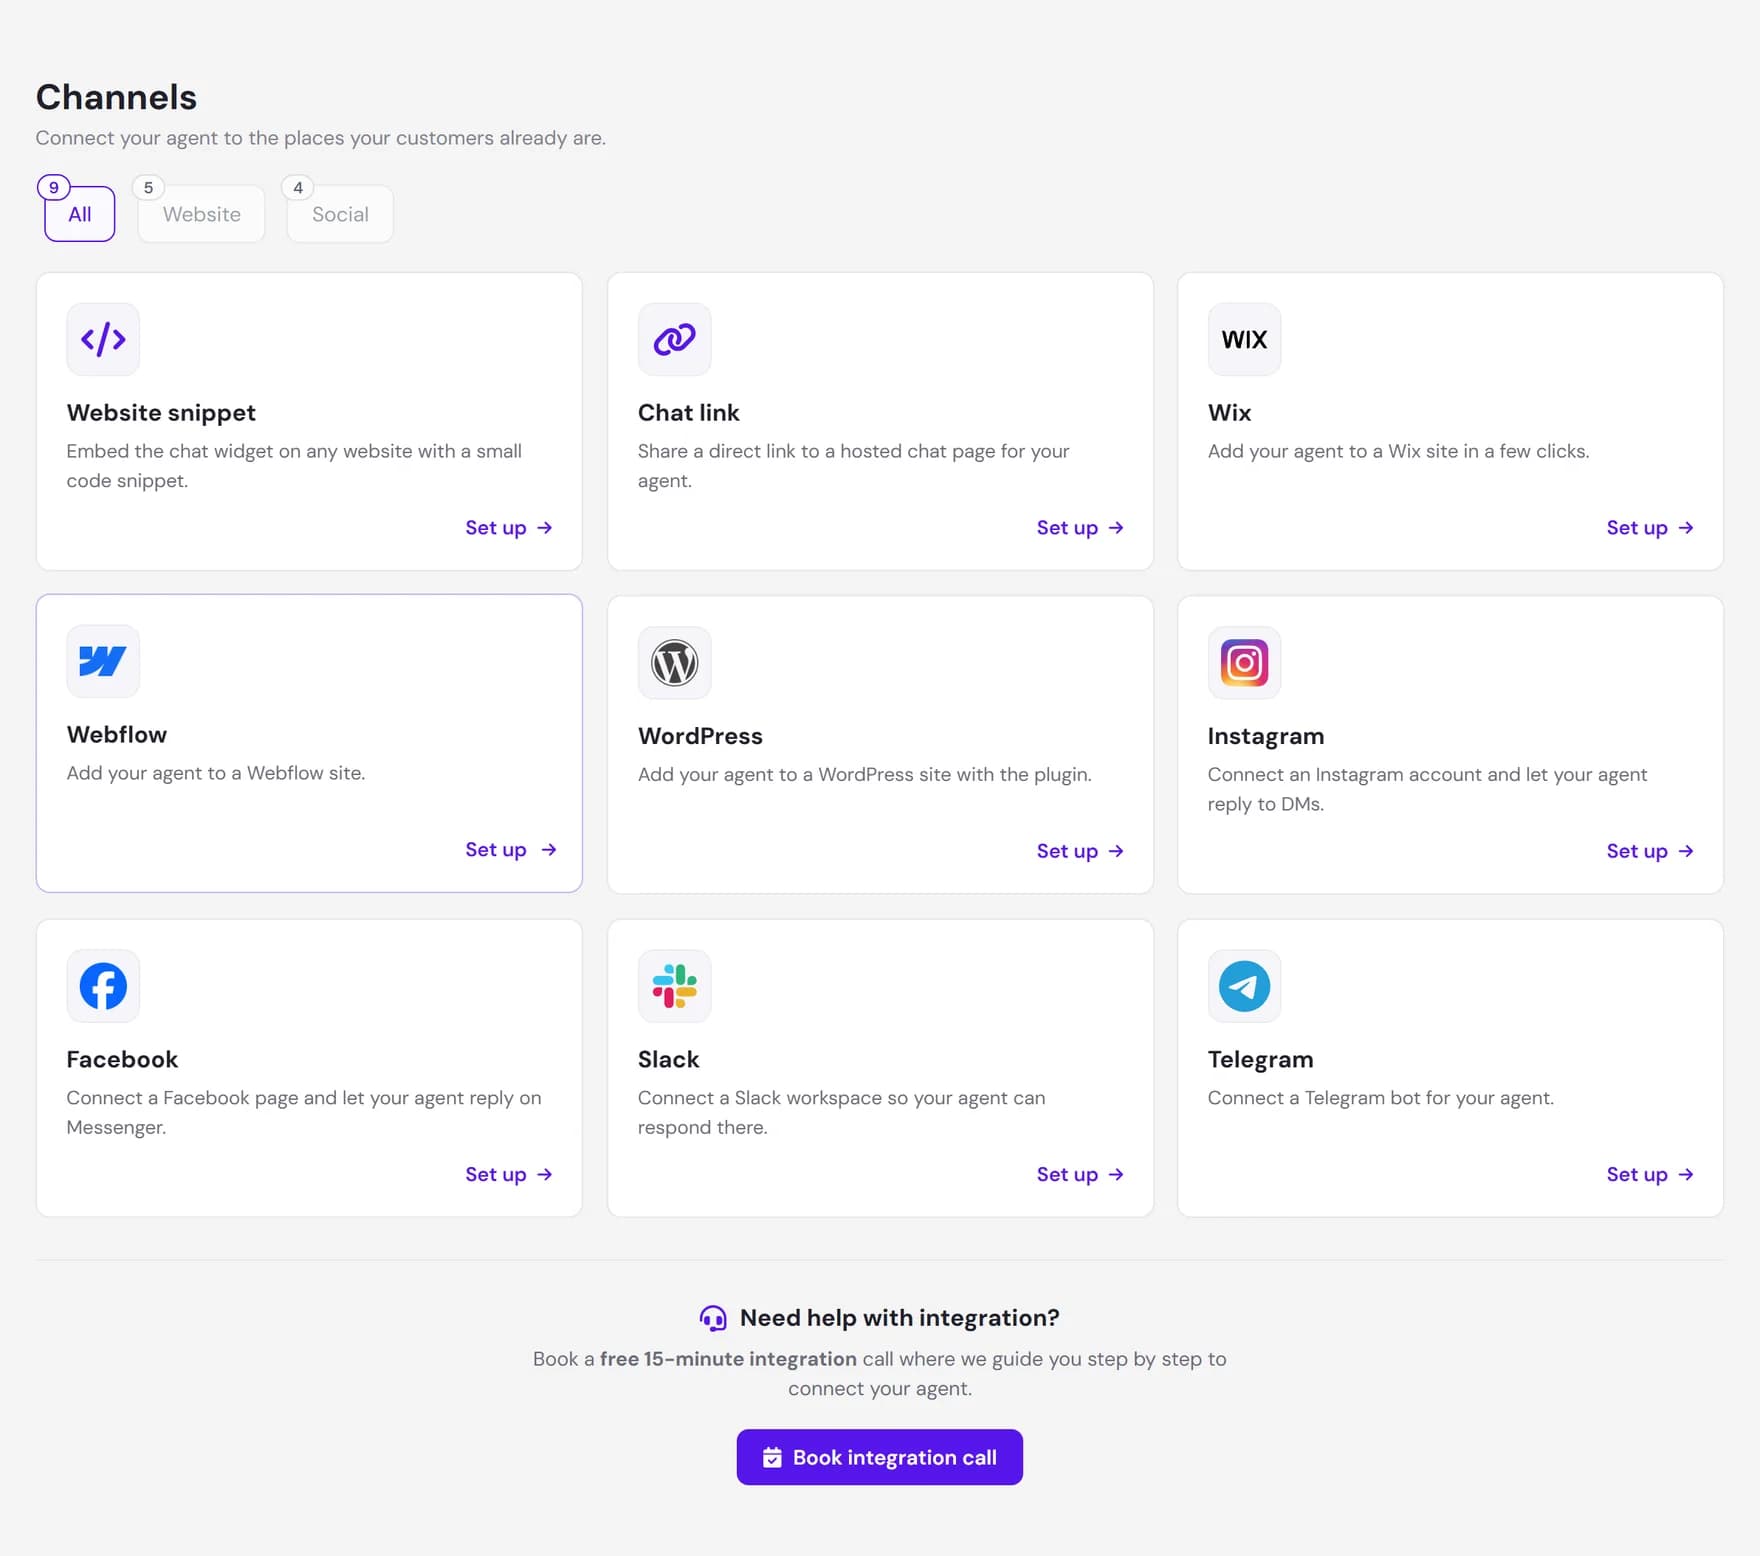
Channels
Channels are the places your AI agent runs and talks to your customers. The same agent can be live on your website, behind a shareable link, and inside your social inboxes at the same time, all from one place in the dashboard.
You manage channels from the Channels screen in the dashboard. Each channel is one connection between an agent and a place your customers reach you. You pick a channel, follow a short setup, and your agent starts answering there. Nothing about the agent itself changes between channels: it uses the same knowledge, the same skills, and the same behavior everywhere.
How channels work
Channels are grouped into four buckets, which match the filter at the top of the Channels screen:
- Website. Put your agent on a web page or behind a web link: the website widget, the website iframe, the hosted chat link, and the Wix and Webflow installs, plus copy-paste guides for many website builders.
- Online store. Add your agent to an online store, with copy-paste guides for the major e-commerce platforms.
- CMS. Add your agent to a content management system, including WordPress and copy-paste guides for other CMS platforms.
- Social. Let your agent reply inside a messaging account you already own: Instagram, Facebook, Slack, and Telegram.
Whichever group a channel is in, the conversation runs through the same engine. The agent answers from its knowledge base, follows the custom behaviors you set, and can capture leads in chat. On the website widget and the hosted chat link it can also hand off to a human through live chat. The social channels do not include the in-browser live-chat handover today (see the note under each one below).
Available channels
These are the headline channels you can connect today. Each one is set up from its own card on the Channels screen. Beyond the ones in the table, the Channels screen also ships copy-paste guides for many more website builders, online stores, and CMS platforms. See More platforms below.
| Channel | What it is | How to set up |
|---|---|---|
| Website widget | The floating chat bubble on your own website. This is the default and most common way to deploy. | Copy a small code snippet and paste it into your site, just before the closing body tag. |
| Website iframe | The same agent embedded inline on a page, in a frame you place where you want it, instead of a floating bubble. | Copy the inline embed code and paste it into the page where the chat should appear. |
| Chat link | A full-page hosted chat at a shareable URL, with no website embed required. | Open the Chat link card and share the link. Put it in an email signature, a QR code, or a help page. |
| Wix | Your agent on a Wix site, added through the Wix App Market. | Connect your Wix site, then turn the agent on. Wix adds the widget to your site for you, with no code to paste. |
| Webflow | Your agent on a Webflow site, added through the Webflow integration. | Connect your Webflow account, pick the site, and activate. Remember to publish your Webflow site so the change goes live. |
| WordPress | Your agent on a WordPress site, added through the official plugin. | Install the official Ultimo Bots plugin, then connect it with your agent ID. |
| Your agent replies to direct messages on an Instagram business account. | Connect the Instagram account and assign the agent that should reply. | |
| Your agent replies to messages on a Facebook page through Messenger. | Connect the Facebook page and assign the agent that should reply. | |
| Slack | Your agent answers direct messages and mentions inside a Slack workspace you own. | Create a Slack app from the manifest we provide, then paste two tokens to connect it. |
| Telegram | Your agent replies to private chats sent to a Telegram bot you own. | Create a Telegram bot with @BotFather, then paste its token and pick the agent to reply. |
The Set up flow
Every channel works the same way to start. On the Channels screen you choose a channel and click Set up, then follow the short flow for that channel.
Pick a channel
Use the All, Website, Online store, CMS, and Social filter at the top to narrow the list, then click Set up on the card you want.
Connect or copy
Website channels give you something to place: a code snippet to paste, or a link to share. Platform installs (Wix, Webflow, WordPress) and social channels ask you to connect an account or paste a token so your agent can act on it.
Assign the agent
For the social channels you choose which agent should answer on that account. The website widget, the website iframe, and the hosted chat link already point at a specific agent by its ID, so there is nothing extra to assign.
Go live
Once connected, your agent starts answering on that channel. You can connect more channels at any time, and manage or disconnect each one from its card later.
Website channels
Website channels are the most common way to deploy. The website widget and the platform installs all show the same floating chat widget. The website iframe embeds the same agent inline on a page. The hosted chat link is a standalone page instead of an embed.
Website widget
The widget is a few lines of HTML that load the floating chat bubble on any site. You copy it from the Website widget card and paste it into your page, just before the closing </body> tag. The widget is served from a hosted bundle, so once the code is in place it stays current without you updating any code.
One page shows one agent. The code carries the agent ID, so to change which agent appears you change the code. This is the right choice for hand-built sites or any platform where you can edit the page HTML.
Website iframe
The website iframe embeds the same agent inline on a page instead of as a floating bubble. You copy the inline embed code from the Website iframe card and paste it into the spot on the page where you want the chat to appear. This is useful when a page has its own area for the chat, or on a platform that only allows inline embeds rather than a site-wide script.
Like the widget, the iframe carries the agent ID, so it already points at a specific agent. You can size and position the frame to fit your layout.
Chat link
The chat link is a full-page version of your agent at a shareable URL. There is no website embed: anyone with the link gets a full-page chat. It is handy for an email signature, a social bio, a printed QR code, or a help page that points out to the chat instead of embedding it. The link has no login, so anyone who has it can chat.
Wix, Webflow, and WordPress
If your site runs on one of these platforms, you can install the agent through the platform instead of pasting code:
- Wix. Connect your Wix site, then switch the agent on. Wix adds the widget to your site for you. You can turn it on or off again from the Wix card.
- Webflow. Connect your Webflow account, choose which site to use, and activate. Because Webflow only applies changes when you publish, publish your site after activating so the widget appears on the live site.
- WordPress. Install the official Ultimo Bots plugin, then connect it with your agent ID. The plugin adds the widget to your site.
More platforms
You do not need a dedicated install to add your agent to most sites. The Channels screen ships a step-by-step guide for many popular website builders, online stores, and content management systems. Each guide gives you a copy-paste snippet for that platform: the same website widget code (a floating chat bubble) or, where a platform only allows inline embeds, the website iframe code. The guide walks you through exactly where to paste it for that platform, so the steps match what you see in your own admin.
Website builders
On the Website filter you will find guides for these builders. Each one produces the same chat widget on your site:
- Squarespace
- GoDaddy
- Framer
- Weebly
- Jimdo
- Duda
- Carrd
- Strikingly
- Tilda
- Webnode
- Hostinger
- IONOS
- SITE123
- Google Sites
Online stores
On the Online store filter you will find guides for these e-commerce platforms:
- Shopify
- WooCommerce
- Square Online
- BigCommerce
- Magento
- Ecwid
- PrestaShop
- OpenCart
- Big Cartel
CMS platforms
On the CMS filter you will find WordPress, which has its own install above, plus copy-paste guides for these content management systems:
- Joomla
- Drupal
- Ghost
- HubSpot CMS
- TYPO3
Social channels
Social channels let your agent reply inside a messaging account you already run. You connect the account once and assign an agent to it. From then on, incoming messages get an answer from that agent, using the same knowledge and behavior as your website. These channels handle text messages and reply with text.
Instagram and Facebook
Instagram and Facebook connect through Meta, where Ultimo Bots is a verified Meta Tech Provider. You connect your Instagram business account or your Facebook page, grant the messaging permission, and assign the agent that should reply. After that, your agent answers direct messages on Instagram and Messenger conversations on your Facebook page.
When you connect, you also pick how the agent replies: to every new conversation, or only to conversations you activate yourself. You can change this and reassign the agent later from the channel.
Slack
Slack lets your agent answer inside a workspace you own. Anyone in the workspace can send the agent a direct message, or mention it in a channel it has been added to, and get a reply. Setup takes a few minutes: you create your own Slack app from a manifest the connect screen provides, install it to your workspace, then paste two values back into the dashboard, the bot token and the signing secret, and pick which agent should reply.
There is no Slack marketplace review for this. The app is yours and lives in your workspace. Your own workspace settings decide whether installing a new app needs an admin to approve it, which is normal Slack behavior.
Telegram
Telegram uses a Telegram bot you create and own. In Telegram you talk to @BotFather, create a new Telegram bot, and copy the token it gives you. Paste that token into the Telegram card, pick the agent to reply, and your agent answers private chats sent to it. There is no approval step from our side, because the Telegram bot is entirely yours.
Next steps
Once your agent is live on a channel, tune how it looks and what it can do: